REVIEW · SLIEMA
From Sliema or Bugibba: Gozo Heritage Day Pass
Book on GetYourGuide →Operated by V. Tabone Travel · Bookable on GetYourGuide
Gozo in one day, with a plan you can actually use. This Gozo Heritage Day Pass strings together Malta–Gozo catamaran ferries, two hop-on-hop-off bus routes, and single-entry admission to seven heritage stops, so you’re not piecing everything together from scratch. From Sliema or Bugibba, you get a day that’s mostly “ride, scan, explore, repeat.”
I particularly like the flexibility of the route-based buses (you can hop on and off around Victoria and the west/east coasts), plus the fact that Ġgantija Temples and the Citadel area are built into the package. The main drawback is time pressure and tight coordination: if the hop-on bus timing doesn’t line up with your sightseeing window, or if your ticket isn’t accepted smoothly at the bus, you can lose a big chunk of the day fast.
In This Review
- Key things to know before you go
- The value pitch: ferries, hop-on buses, and 7 heritage entries
- How the day flows from Sliema or Bugibba
- Boat reality check: seats, crowds, and rough-water timing
- Route 1 (purple): Victoria, Dwejra area access, Ta’ Pinu, and Xlendi
- Route 2 (blue): Ġgantija Temples, Ramla, Nadur, and Marsalforn
- Seven included heritage sites: what to prioritize (and how to stay sane)
- The schedule squeeze: where the pass can feel tight
- Comfort on open-top buses: sun, heat, and practical gear
- Who this pass suits best (and who might be disappointed)
- Should you book this Gozo Heritage Day Pass?
Key things to know before you go
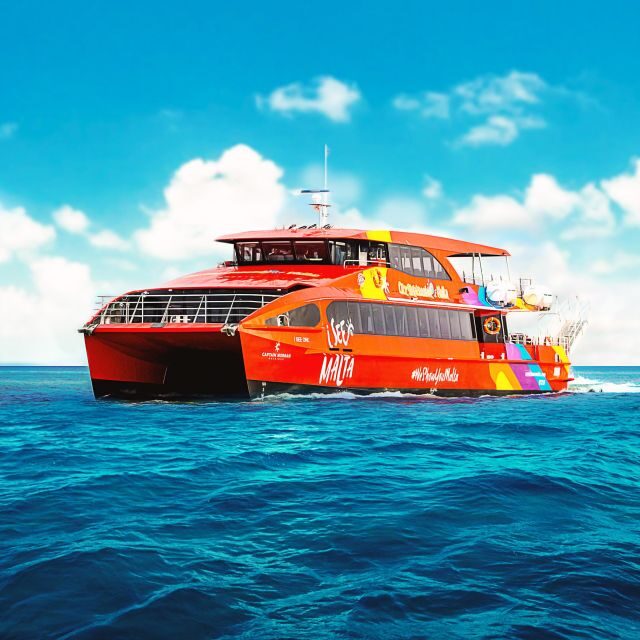
- Ferries from Sliema or Bugibba with same-day return on an eco-friendly catamaran
- Two hop-on-hop-off routes that total 15 stops and come with a multi-lingual audio guide
- Seven included heritage admissions, including Ġgantija Temples and the Ta’ Kola Windmill
- Victoria’s Citadel area is part of the experience via the Cittadella Visitors’ Centre
- Time is your real limitation on a 7-hour pass—choose what you’ll prioritize
- Organization can be good or stressful, so keep your pass accessible and your schedule tight
The value pitch: ferries, hop-on buses, and 7 heritage entries
This pass is built for one thing: saving you effort on Malta-to-Gozo logistics. You pay one price (listed as $71 per person) and you receive return ferry transport, hop-on-hop-off bus access on Gozo, and entry to seven heritage sites—so the “buy separate tickets, then hope you timed everything right” problem is reduced.
The value really depends on your priorities. If you want to see multiple highlights (especially Ġgantija Temples, Victoria’s Citadel area, and the included museums), a bundled day ticket can feel like a bargain. If you only care about one or two stops, some people find it can be cheaper to mix-and-match ferries, local transport, and admissions on your own—mainly because this pass is designed around fitting several sites into limited hours.
The biggest thing I’d watch is the trade-off: convenience is great, but it can also lock you into schedules. That’s not a dealbreaker—just know that this is not a slow, open-ended Gozo wander day.
You can also read our reviews of more tours and experiences in Sliema.


How the day flows from Sliema or Bugibba

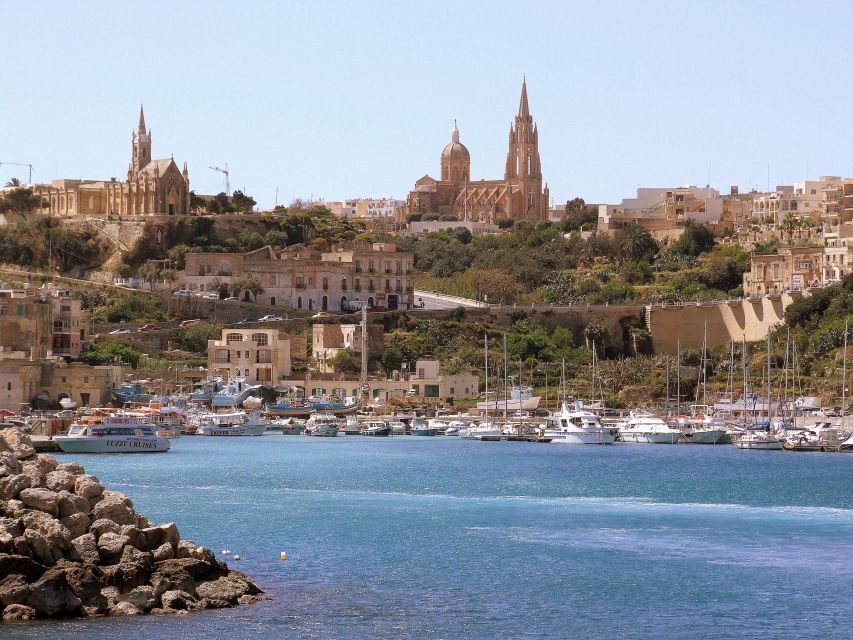
Your day starts with the ferry crossing. Departures are year-round from Sliema or Bugibba, and the catamaran is described as eco-friendly with an option for indoor or outdoor seating. If the sea is choppy, outdoor seating can be a rough choice, so I’d treat the indoor option like your comfort insurance.
Once you arrive in Gozo, you switch to Gozo Sightseeing mode. The pass includes City Sightseeing Gozo hop-on-hop-off buses in two routes (purple and blue). These buses run on a schedule, and because they’re hop-on-hop-off, you’re meant to grab what you need at each stop, then continue when it makes sense.
On the way back to Malta, you get included transport from the Gozo quay back to hotel zones in Malta—specifically:
- from Sliema quay to leading hotels in Sliema and St. Julian’s
- from Bugibba quay to leading hotels in Bugibba, Qawra, and Mellieha
Hotel pickup isn’t included, so you’ll need to get yourself to your chosen Malta starting point.
Boat reality check: seats, crowds, and rough-water timing
The ferry is part of your day package—so it’s not just a transfer. It’s also where your day can start smoothly or feel stressful.
A couple of practical notes to plan around:
- The harbor can be busy, so find your ferry early and make sure you’re on the right boat. Staff presence helps, but you don’t want to waste time searching.
- If conditions are rough, motion can hit hard. I’d bring what you normally use for seasickness and choose seating based on comfort, not vibes.
Also, remember your total time is short (the pass is listed as 7 hours). Even small delays can shrink your sightseeing window more than you expect.
Route 1 (purple): Victoria, Dwejra area access, Ta’ Pinu, and Xlendi
Route 1 (purple) is the bus line that feeds you toward central Gozo and the stops people usually connect with the island’s religious and scenic landmarks. It runs through 9 stops on the route list:
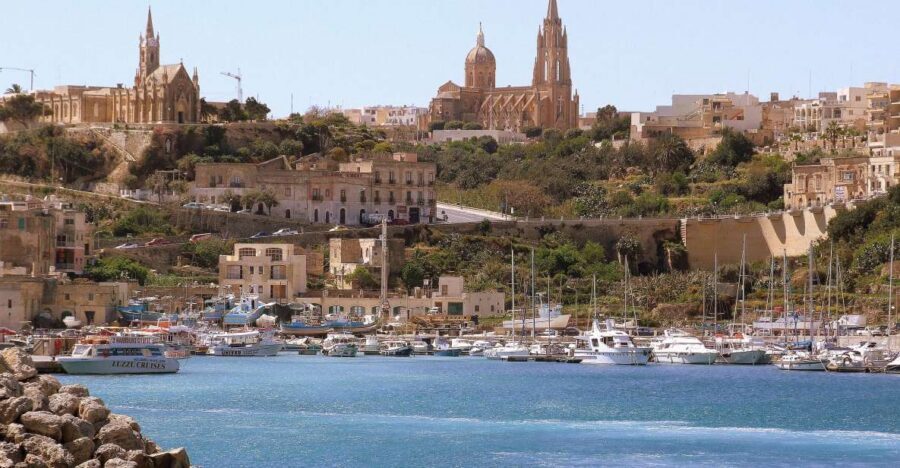
- Mġarr Ferry Terminal
- Xewkija
- Savina Creativity
- Victoria (to Dwejra) at a stop near Victoria Police Station
- Ta’ Dbiegi
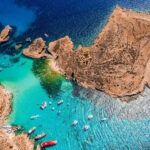
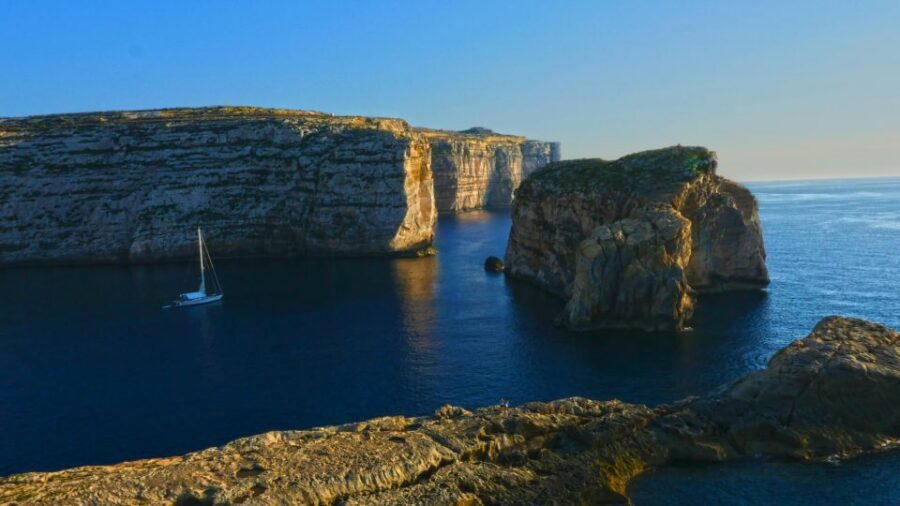
- Dwejra
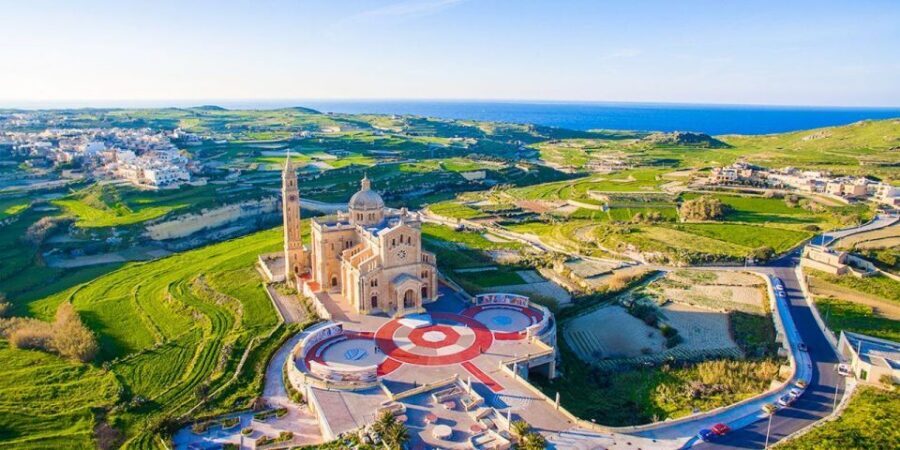
- Ta’ Pinu (with a short photo stop)
- Fontana Cottage
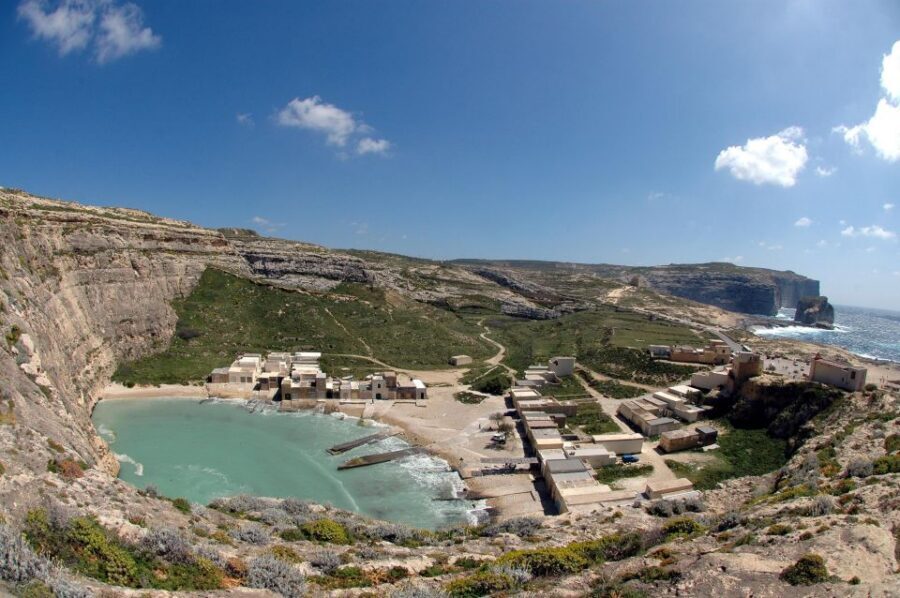
- Xlendi
Here’s how to think about it. This route can be great if you want at least one “must-see” stop in the Victoria region (and the included Citadel admission tie-in), plus a chance to get out toward the southern/western side of Gozo.
The one detail I’d treat like a planning anchor is the Ta’ Pinu instruction: the bus waits there for a few minutes specifically for photos. That’s helpful because it tells you this is a stop meant for a quick look, not a long stay. If you want more time there, you’ll probably need to build your day around it—rather than assume you can casually drop in and wander for long.
Route 1 can also be the tougher route if you expect “hop off for 20 minutes, hop back on soon.” Buses run on schedule, and a missed connection can cost you more time than you budget.
Route 2 (blue): Ġgantija Temples, Ramla, Nadur, and Marsalforn

Route 2 (blue) is the line that connects you to the east side of Gozo highlights on the route list:
- Victoria (to Marsalforn)
- Marsalforn
- Ġgantija Temples
- Ramla
- Nadur
- Mġarr Ferry Terminal
If Ġgantija Temples is your number-one reason for being on this pass, Route 2 is your natural choice. Since Ġgantija is included in the heritage admissions, this route reduces the “how do I get there” stress.
Then you have options. Marsalforn, Ramla, and Nadur are stops that can work as break points. They also give you a path to pick your pace: you can treat them as quick photo-and-stroll stops, or use them to grab some downtime before your next museum or fortress-time commitment.
One thing to watch: the bus route is a loop, so if you try to bounce between far-apart stops, you might spend longer on the bus than you’d expect. With only a 7-hour window, your smartest move is to pick one “zone” and let the route serve that plan.


Seven included heritage sites: what to prioritize (and how to stay sane)
The pass includes single-entry admission to these seven Gozo attractions:
- Ġgantija Temples
- Ta’ Kola Windmill
- Gozo Archaeology Museum
- Gozo Nature Museum
- Gran Castello History House
- The Old Prison
- Cittadella Visitors’ Centre
It’s a nice spread: temples, a working windmill, museums focused on archaeology and nature, and then the castle-and-fortress storytelling elements (history house, old prison, and the Citadel visitors’ centre).
But seven admissions sounds like a lot for one day unless you’re strict about time. Here’s the way I’d prioritize if you want the best balance:
- Start with Ġgantija Temples if it’s a top goal. It’s the big-ticket inclusion, and it’s easy to build your route plan around Route 2.
- Then decide how museum-heavy you want to be. The package includes both the Archaeology and Nature museums, plus Gran Castello History House and The Old Prison. That can become “museum sprinting” if your bus timing slips.
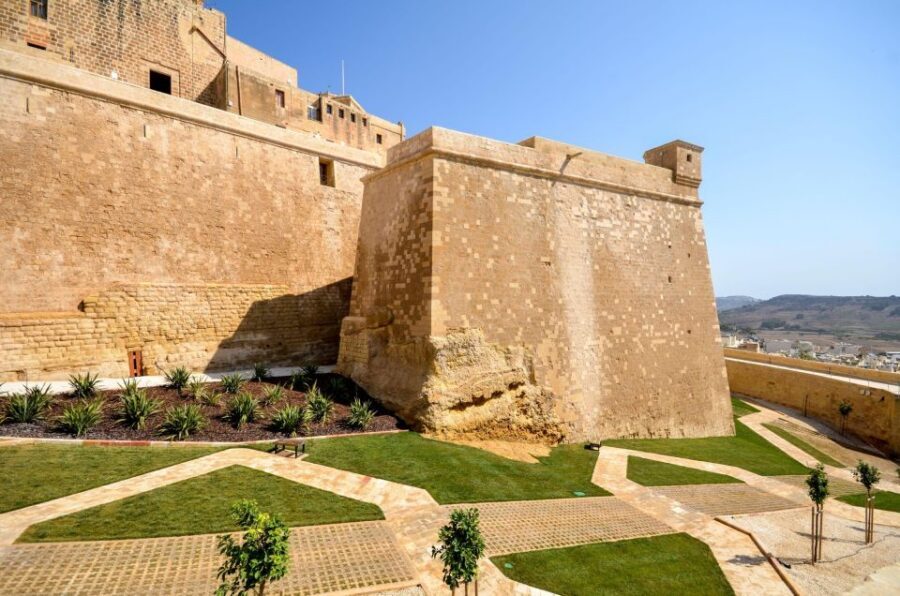
- Use the Cittadella Visitors’ Centre as your anchor for Victoria/Citadel time. The pass explicitly includes the visitors’ centre, and that’s your practical entry point for the Citadel experience.
A good strategy is to aim for: one major site, one museum block, and one short heritage stop—then keep buffer time for transport and potential waits.
The schedule squeeze: where the pass can feel tight
This kind of multi-site pass runs on one fragile resource: time. Even when everything is technically included, you can still feel rushed because the bus is timed and the ferry is timed.
Several practical problems show up in real use:
- The hop-on bus frequency and timing can be tight enough that small delays cost you more than you think.
- The bus travel between far stops can feel longer than expected, especially if you try to bounce between “east stops” and “Victoria stops” repeatedly.
- Some included sites involve entry checks, and if scanning or staff procedures don’t go as smoothly as you expect, you can lose minutes that matter.
My advice: pick your route and your site sequence before you step off the ferry. If you go in with a vague plan like I’ll see what happens, you’ll likely end up cutting your museum time short.
Also, keep your pass accessible. The intended method is scanning the pass for single-entry admission at each site, so don’t bury it in a pocket where you’ll waste time getting it out.
Comfort on open-top buses: sun, heat, and practical gear

This pass uses open-top hop-on-hop-off buses, which is great for views when weather cooperates. It also means you’re exposed to sun and heat, especially in midday.
A practical comfort checklist I’d follow:
- Bring water. Even short museum stints won’t help much if you’re dehydrated.
- Plan for sun: hat, sunscreen, and sunglasses.
- Expect that some buses may feel warm. If you’re heat sensitive, choose shaded seats when you hop on.
If the weather turns bad at the ferry stage, it can change how comfortable you feel on the way back. One rough-sea day can turn a “fun sightseeing” plan into a “move quickly and get warm” plan.
Who this pass suits best (and who might be disappointed)
This Gozo Heritage Day Pass is a good fit if you want:
- a built-in way to get from Malta to Gozo and back
- multiple heritage admissions without planning each ticket
- flexible hop-on and hop-off touring using bus routes rather than taxis for every leg
It’s less ideal if you’re:
- trying to see all seven sites with plenty of time for each (the schedule is short)
- very sensitive to heat and crowds on transport
- the kind of person who wants slow, unhurried exploration with lots of detours
If your ideal day is “choose one highlight, then spend hours there,” you may be happier using the ferry and paying for just the entrances you truly care about.
Should you book this Gozo Heritage Day Pass?
Book it if you’re aiming for an efficient “highlights” Gozo day and you like the idea of one ticket handling ferry, bus, and most admissions. It’s especially attractive if Ġgantija Temples and Victoria’s heritage stops are on your must-see list and you’re comfortable running a tight schedule.
Don’t book it if you hate timing pressure or you’re hoping for a relaxed, lounge-by-the-sea day. In that case, you might get a better experience by picking your ferry times and choosing only 2–3 admissions so you’re not forced to sprint between sites.
If you do book, my strongest tip is simple: decide your priorities before the bus arrives, then let the route serve your plan instead of the other way around.